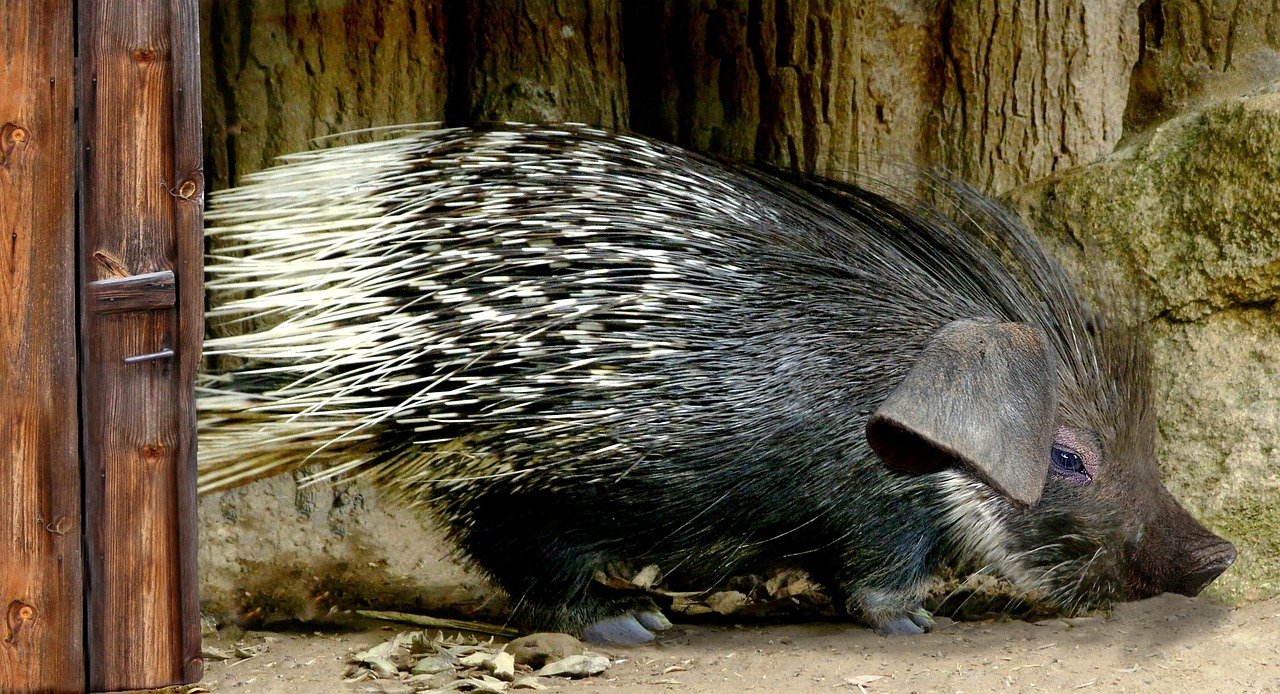
Creating a cozy and comfortable nest is an essential aspect of caring for your porcupine. In this do-it-yourself (DIY) guide, we’ll explore step-by-step instructions to build a home that caters to your quilled companion’s needs. Let’s embark on the journey of crafting a space where your porcupine can feel safe, secure, and right at home.
Design Considerations
When embarking on the construction of a DIY porcupine home, thoughtful design considerations are key to ensuring your quilled companion’s comfort and well-being. Here’s a guide to help you make informed decisions throughout the process.
1. Understanding Porcupine Behavior:
Before designing their habitat, delve into the natural behaviors of porcupines. Consider their instincts, such as climbing, burrowing, and the need for social interaction. This knowledge forms the foundation for a habitat that meets their specific needs.
2. Spacious Enclosure Design:
Porcupines are active animals that require room to roam. Opt for a spacious enclosure that allows them to move freely, explore, and engage in their natural behaviors. A larger space promotes physical and mental well-being.
…
3. Size Matters: Building the Right Dimensions
Determining the size of the structure for your porcupine is crucial to ensure their comfort and well-being. The dimensions should allow for natural behaviors such as movement, climbing, and nesting. Here are some general guidelines for the size of the structure:
- Width and Length:
- A base width and length of at least 3 to 4 feet is a good starting point. This provides enough space for your porcupine to move around comfortably.
- Height:
- Porcupines are skilled climbers, so consider a height of 2 to 3 feet or even taller. Including platforms or shelves at different levels can enhance their climbing experience.
- Entry Opening:
- The entry point should be wide enough for easy access but not too large to compromise the structural integrity. A well-sized entry point can be around 12 to 18 inches in width.
- Nesting Area:
- Designate a cozy nesting area within the structure. This can be a smaller, enclosed space with soft bedding. Ensure that it’s large enough for your porcupine to comfortably rest and turn around.
- Roof Overhang:
- If the structure has a roof, provide an overhang of about 6 to 12 inches. This helps protect your porcupine from the elements and adds a sense of security.
Remember that these are general guidelines, and the specific size may vary based on factors such as the individual preferences of your porcupine, available space in the enclosure, and the complexity of the structure. It’s essential to observe your porcupine’s behavior and make adjustments as needed. Providing a habitat with enough space and suitable features contributes to their overall happiness and well-being.
Materials Needed:
Before we begin, gather the following materials to ensure a successful DIY porcupine home project:
- Sturdy Wood or Plywood:
Choose durable wood or plywood for the structure. Ensure it’s thick enough to provide insulation and withstand the porcupine’s activities. - Soft Bedding Material:
Select soft bedding materials like hay or straw to create a cozy and comfortable nesting area. - Nails or Screws:
Secure the structure using nails or screws, ensuring stability and safety. - Saw and Drill:
Equip yourself with a saw for cutting wood and a drill for making holes or assembling components. - Paints or Sealants (Optional):
If desired, use pet-safe paints or sealants to add a decorative touch or protect the wood from the elements.
Step-by-Step Guide:
Step 1: Design the Structure
Consider the natural behaviors of porcupines, including their love for climbing and hiding. Design a structure with multiple levels, platforms, and hiding spots. A simple box-like design with an opening for entry can serve as the foundation.
Step 2: Cut and Assemble
Using the saw, cut the wood or plywood according to your design. Assemble the pieces, ensuring a secure fit. If you’re including platforms or climbing elements, attach them securely to the main structure.
Step 3: Add a Roof
Provide a roof over the nest to protect your porcupine from the elements. This can be a flat or slanted roof, depending on your design preference. Ensure it’s securely attached to the structure.
Step 4: Create an Entry Point
Cut an entry point into the structure, allowing easy access for your porcupine. Smooth the edges to prevent any injuries or snagging of quills.
Step 5: Line the Interior with Bedding
Fill the interior with soft bedding materials, creating a comfortable and inviting nesting area. Hay or straw works well for this purpose.
Step 6: Optional Painting or Sealing
If you want to add a personal touch or protect the wood, consider painting the exterior with pet-safe paints or applying a sealant.
Step 7: Securely Place in Enclosure
Once the DIY porcupine home is complete, securely place it in your porcupine’s enclosure. Choose a location that offers privacy while allowing easy observation.
Step 8: Monitor and Adjust
Observe your porcupine’s interaction with the DIY nest. If needed, make adjustments based on their preferences or behaviors. Some porcupines may prefer a more open space, while others appreciate a cozy hiding spot.
By following these steps, you’ll not only create a DIY porcupine home but also provide your quilled friend with a comfortable and personalized space. Remember, each porcupine is unique, so monitor their response and make modifications accordingly. Building a nest is not just a DIY project – it’s a way of showing your care and dedication to the well-being of your porcupine companion.


